Despite choosing the best fabric and most luxurious window coverings, improper installation can make even the finest treatments look sloppy or underwhelming. How you hang your curtains plays a critical role in how the entire room comes together.
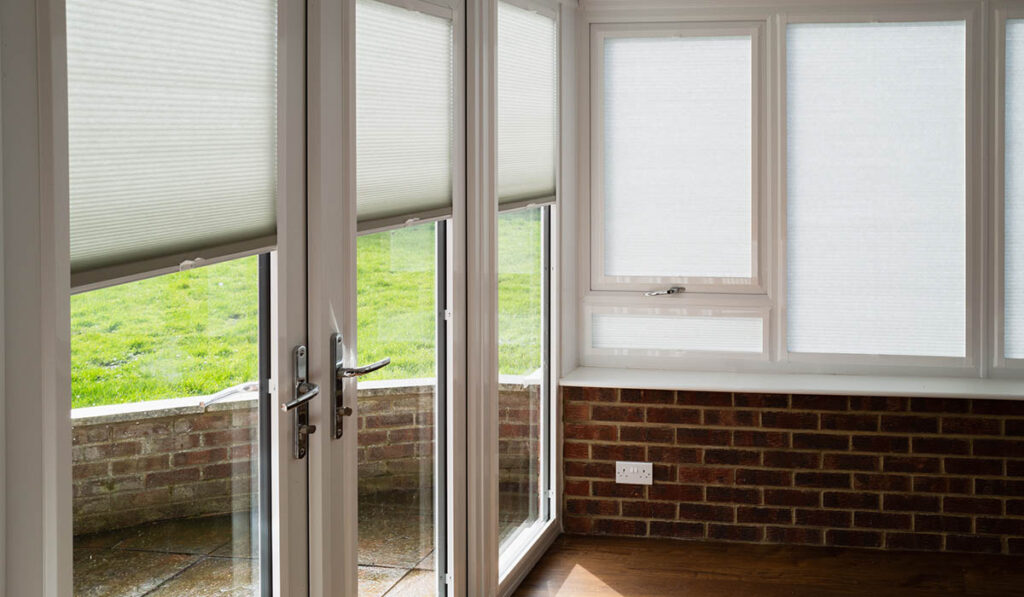
When hung at the right height and width, curtains can create the illusion of taller ceilings, wider windows, and a more cohesive design. Proper placement also ensures better light control, insulation, and privacy.
Our step-by-step curtain hanging guide covers everything you need to hang curtains properly—from essential tools and hardware to renter-friendly no-drill methods, ideal hanging heights, common mistakes to avoid, and when it’s best to call in window treatment experts.
Your Complete Curtain Hanging Guide: Tools, Setup & Installation
Properly hanging curtains requires more than just guesswork and a drill. From selecting the right mounting hardware to determining accurate measurements, each step plays a role in how your window treatments function and elevate your space. This guide will walk you through how to properly hang curtains.
Tools and Hardware You’ll Need
- Drill + anchors/screws
- Level
- Tape measure
- Pencil or masking tape for markings
- Curtain rod and brackets
- Stud finder (optional)
- Tension rods / adhesive hooks (for renters)
Step-by-Step Curtain Hanging Guide
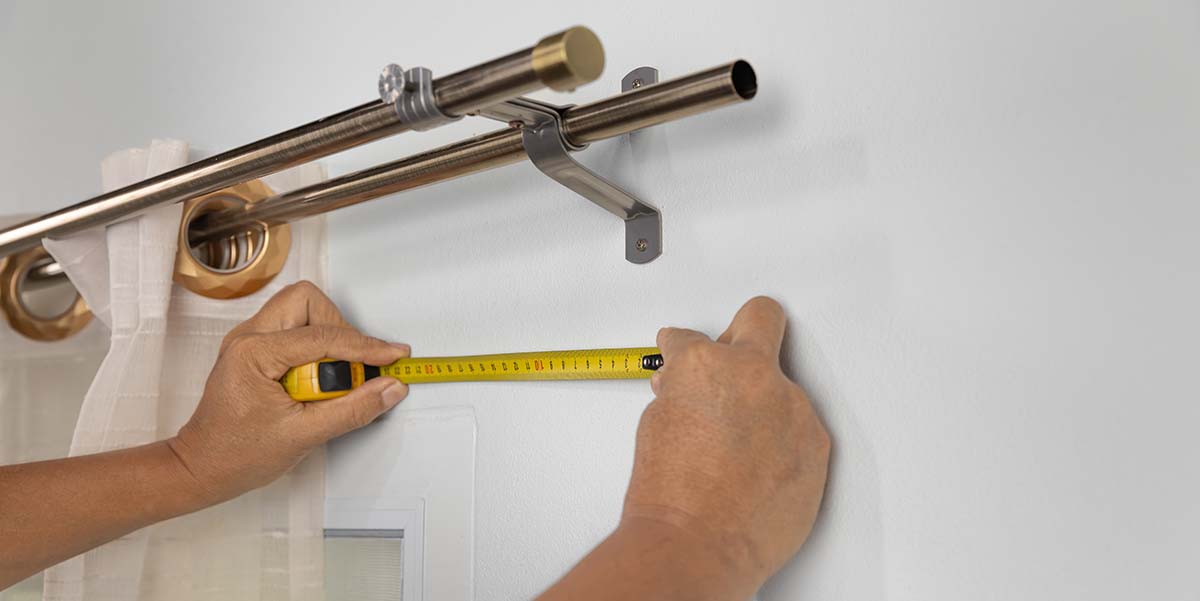
Step 1: Measure Your Windows Accurately & Determine How High to Hang Curtains
Before choosing curtain rods or picking up a drill, it’s crucial to measure your windows accurately first. Using the tape measure, start recording the full width of the window, including any surrounding trim. For proper coverage and a balanced appearance, the curtain rod should extend 6 to 10 inches beyond each side of the window. This allows the panels to stack cleanly when open, maximizing both light and visual symmetry.
Next, determine the height. While understanding how high to hang curtains may seem like a small detail, it plays a significant role in how polished and proportionate your room feels. A general guideline is to position the rod 4 to 6 inches above the window frame. This not only gives your curtains room to breathe but also creates the illusion of taller ceilings and larger windows.
Once you’ve decided on the rod height, measure from that point down to the floor to determine the proper panel length. Curtains should either gently “kiss” the floor, hover half an inch above it, or puddle slightly depending on the look you want. Skipping this step often results in curtains that feel unbalanced or unfinished.
Step 2: Mark and Mount Your Brackets
After listing down all the key measurements, make sure to mark your bracket placement carefully. Use a tape measure to ensure your rod will sit at the correct height and width, then mark your spots using a pencil or masking tape. Before you drill, place a level across the markings to confirm they’re even—uneven brackets will cause the rod to tilt or sag.

Next, grab your stud finder to locate a solid anchor point. If a stud isn’t available, use wall anchors and screws suitable for the custom curtain weight. Once your anchor points are marked, drill pilot holes and attach the brackets firmly to the wall. Taking the time to do this properly avoids future problems like sagging, loose hardware, or crooked curtains.
Step 3: Install the Curtain Rod Securely
After securing the brackets, slide the curtain rod into place and make any necessary width adjustments. Use a level to confirm the rod is perfectly horizontal before tightening the set screws. An uneven rod will create a noticeable slant in your curtain panels.
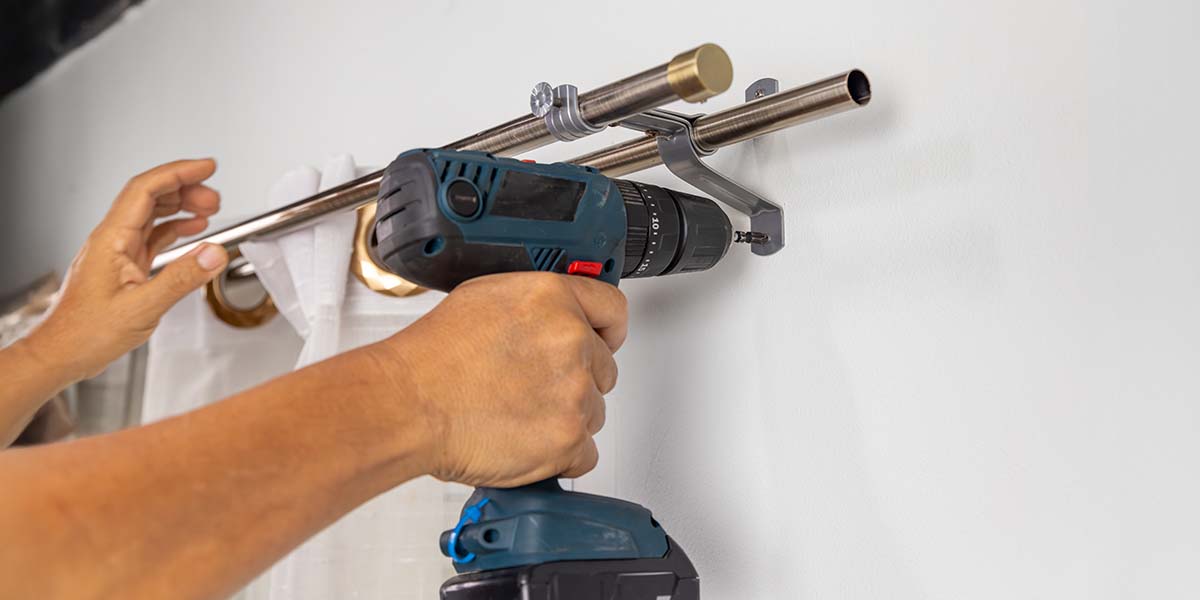
If you’re working with a wide window or heavier fabrics like velvet or blackout drapes, be sure to install a center support bracket for added stability. For layered treatments, a double curtain rod allows you to hang both sheer and opaque panels for maximum flexibility. Use your drill or screwdriver to secure all connections tightly.
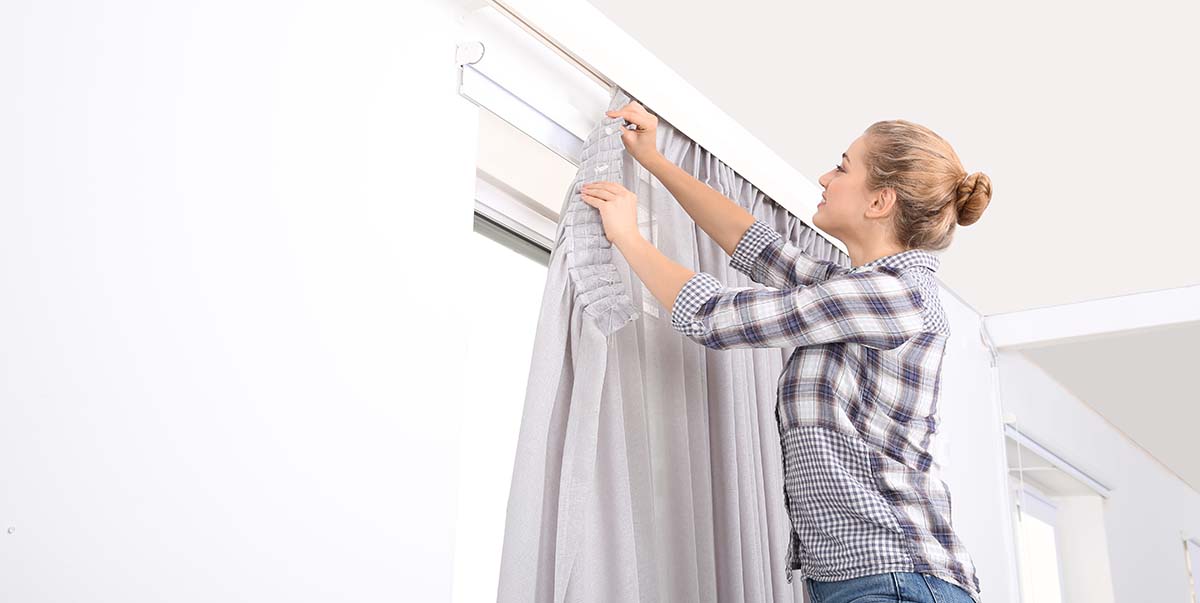
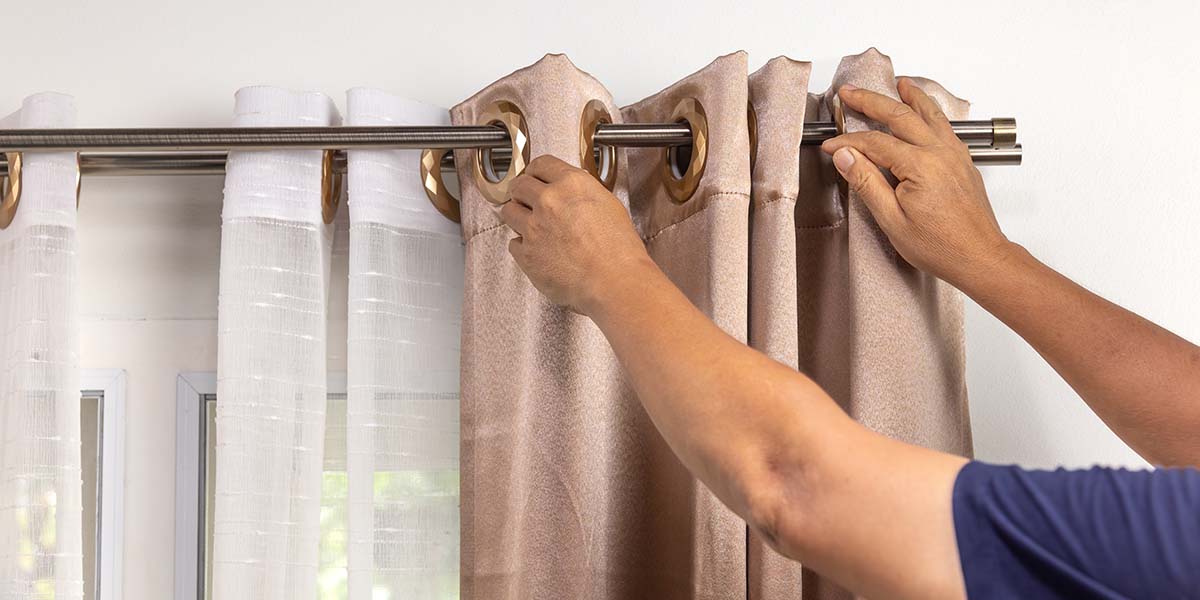
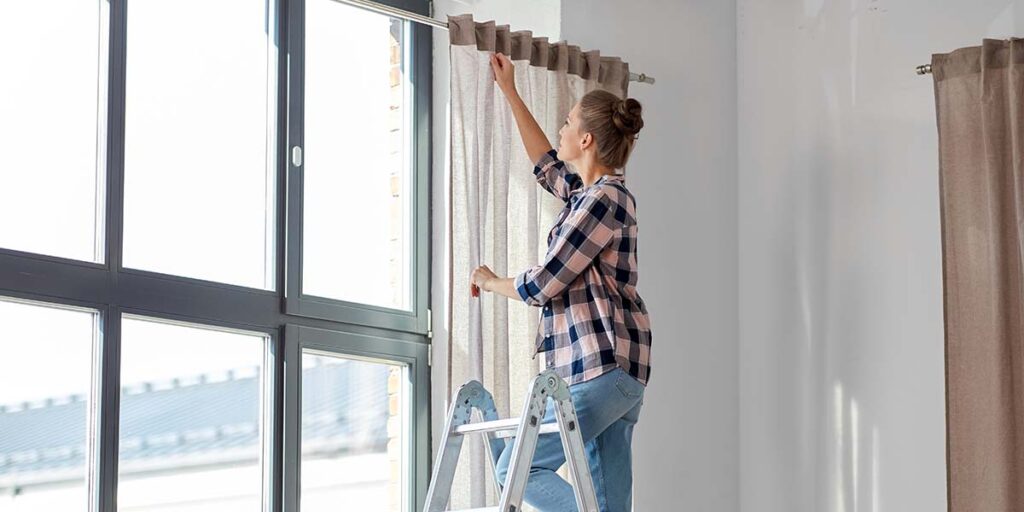
Step 4: Hang and Adjust Your Curtains
Now that your rod is securely installed, it’s time for the finishing touch: hanging and adjusting your curtains. Carefully hang the panels by feeding them through the rod or attaching them with rings or clips, depending on your hardware. Once up, take a step back and evaluate the fall and spacing of the curtains. Use a tape measure or level to ensure both sides are even.
From there, style your panels based on the look you’re going for:
- Float: Curtains hover just above the floor.
- Kiss: They lightly touch the floor for a tailored appearance.
- Puddle: They extend onto the floor, creating a relaxed or dramatic effect.
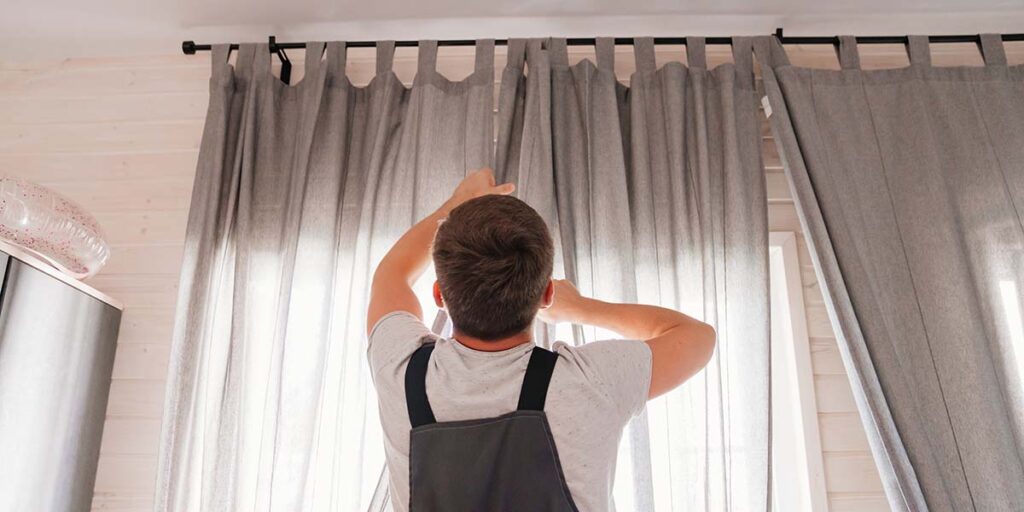
Use a steamer to release wrinkles and manually adjust the pleats so they fall in even folds. This step brings the entire window treatment together and ensures your curtains frame the space beautifully.
Hanging Curtains Without Drilling (For Renters or Temporary Setups)
For renters or short-term tenants who can’t drill into walls, no-drill solutions are available. These include tension rods that fit snugly inside window frames, removable adhesive brackets, and clip-on curtain rod holders. Here’s a quick and easy breakdown of how to install curtains using no-drill methods that are secure, stylish, and lease-friendly.
- Tension Rods
Tension rods are one of the simplest no-drill solutions for hanging curtains. They use spring-loaded pressure to stay in place between two vertical surfaces, like the inside of a window frame. They’re best for lightweight to medium-weight curtains and require no tools—just extend, twist, and lock into position. Ideal for bathrooms, kitchens, or anywhere with narrow windows.
- Adhesive Curtain Rod Brackets
These brackets attach directly to the wall using heavy-duty adhesive strips. Designed for renters, they support light to moderate curtain weights and remove cleanly without damaging paint or drywall. Make sure the surface is clean and dry before application, and allow the adhesive to cure for at least 24 hours before hanging your curtains.
- Command Hooks or Utility Hooks
For grommet-style or tab-top curtains, sturdy adhesive hooks placed at either end of the window can support a lightweight rod. Choose hooks rated for the curtain weight, and always follow the surface prep instructions to ensure a strong hold. This method offers a discreet look and works well for minimalist spaces.
- Magnetic Curtain Rods (for Metal Frames or Doors)
Perfect for steel doors or metal-framed windows, magnetic curtain rods snap into place without any drilling. They’re great for spaces like entry doors or rentals with industrial-style windows—just be sure your surface is compatible with magnets.
The Benefits of Hiring Window Treatment Experts
While hanging curtains may seem like a simple and DIY-friendly project, it can also be time-consuming and prone to costly mistakes. Hiring an expert ensures everything from measurements to mounting is done right the first time.
Here are some benefits of getting your curtains professionally installed by window treatment experts like Prestige Decor:
- Time-Saving and Stress-Free Experience: One of the biggest advantages of hiring a professional is the time and frustration you avoid. No measuring mistakes, no guesswork, and no patching up drywall after a misplaced bracket.
Curtain installation experts like Prestige Decor handle everything, from measuring and levelling to mounting rods, adjusting pleats, and ensuring every panel hangs evenly. - Precision Measurements for a Perfect Fit: The difference between average and outstanding curtain installation often comes down to millimetres. Prestige Decor’s team offers expert in-home measuring services to ensure your curtains fit perfectly and look tailored to your space.
They take detailed measurements that account for ceiling height, curtain length, fabric type, and mounting method to ensure a tailored, seamless fit. - Durable Mounting Techniques for Long-Term Stability: Proper curtain installation isn’t just about looks—it’s also about long-term stability and safety. Professionals know how to locate wall studs, select the right anchors, and install hardware that can support even the heaviest blackout drapes or layered treatments.
Prestige decor uses commercial-grade mounting techniques to ensure your brackets stay secure and your rods remain level—no sagging, shifting, or pulling loose over time. This is especially important for tall ceilings or wide windows. - Expert Styling Advice Included: Professional curtain installation goes beyond accurate mounting—it also includes expert styling advice. Prestige Decor’s window treatment specialists will help you choose the ideal rod height, fabric type, and panel length to complement your space.
Whether you’re maximizing light, adding privacy, or creating a focal point, they will ensure your curtains enhance the room’s design, not just cover a window.
Key Takeaways
The way curtains are hung can make or break the overall look and functionality of a space. From choosing the right hardware to knowing how high to hang curtains, every step requires careful planning and attention to detail.
For homeowners who want a polished, long-lasting result, Prestige Decor offers professional curtain installation services that cover every aspect, from precise measurements to secure mounting and expert styling advice. Their team takes the guesswork out of installation and transforms your window treatments.